Every time you press the power button on your computer, a complex startup sequence begins. Before Windows, macOS, or Linux appears on your screen, your computer must decide which device to load the operating system from. This decision-making interface is the boot menu. Understanding the boot menu provides students and technology enthusiasts with essential knowledge for computer troubleshooting, operating system installation, and system maintenance.
What is the Boot Menu?
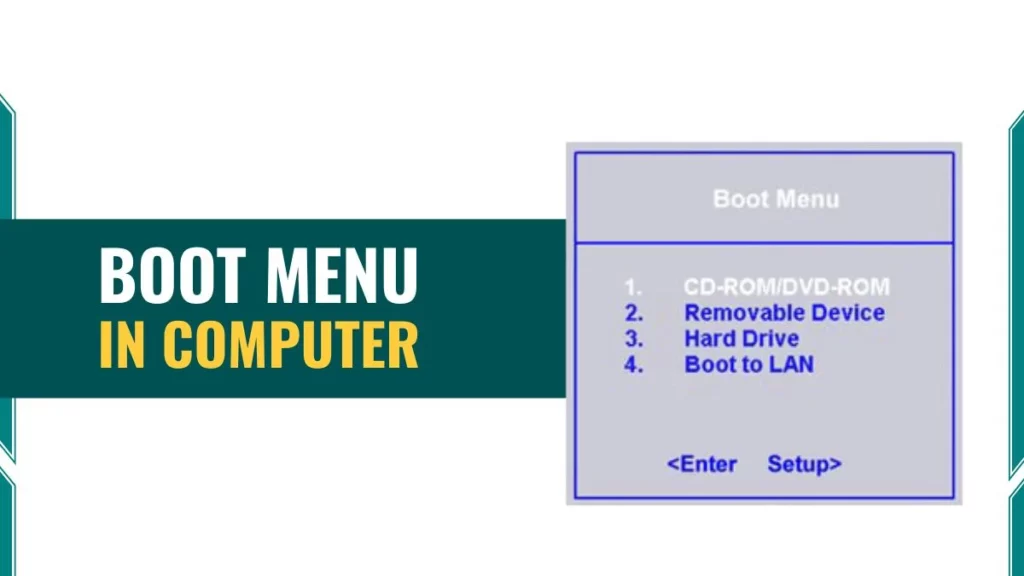
The boot menu is a special system interface that appears during computer startup. This menu displays all available bootable devices connected to the computer. Users can select which device the computer should use to load the operating system.
Visual Characteristics of Boot Menu
The boot menu presents a simple, text-based list. Different manufacturers design their boot menus with slight variations, but all share common elements. The menu typically displays device names such as “Windows Boot Manager,” “USB Drive,” “DVD Drive,” or “Network Boot.”
Also read: What is booting in computer
How to Access the Boot Menu in Computer?
Different computer manufacturers assign different keys for boot menu access. The specific key depends on the motherboard manufacturer or computer brand.
- F12 works for most Dell, Lenovo, Toshiba, and MSI computers. This represents the most common boot menu key across the industry.
- F9 activates the boot menu on HP and Asus computers. Some older HP models use Esc followed by F9.
- F8 provides boot menu access on certain Acer and Sony systems.
- F11 opens the boot menu on some Samsung and Dell models.
- Esc serves as the boot menu key for specific Asus laptop models and older systems.
The computer startup screen usually displays which key to press. Messages like “Press F12 for Boot Menu” or “Press Esc for Startup Menu” appear briefly during POST.
Step-by-Step Access Process
Accessing the boot menu requires precise timing. Follow these steps:
- Power on or restart the computer completely
- Watch the initial startup screen for manufacturer logo
- Press the designated boot menu key repeatedly
- Continue pressing until the boot menu appears
Timing matters significantly. Press the key too early, and the computer ignores the input. Press too late, and the normal boot process continues. Most users achieve success by tapping the key rapidly as soon as the computer powers on.
How to Access Boot Menu Access in Windows 10 and Windows 11?
Windows 10 and Windows 11 provide alternative access methods:
- Open Settings application
- Navigate to Update & Security section
- Select Recovery from left menu
- Find Advanced Startup section
- Click Restart Now button
- System reboots to Advanced Options menu
- Choose Use a Device option
This method works when the operating system loads successfully. It does not help with completely non-booting systems.
What are Components and Options in the Boot Menu?
Here are boot menu lists all devices capable of starting an operating system.
- Hard Drive/SSD (Solid State Drive) represents the primary storage device. This option appears as “Windows Boot Manager,” “SATA HDD,” or the drive model number. Most computers boot from this device by default.
- USB Flash Drive appears when external storage devices connect to the computer. The menu displays these as “USB HDD,” “Removable Devices,” or by the manufacturer name. Operating system installation often requires booting from USB drives.
- CD/DVD Drive shows as “ATAPI CD-ROM,” “Optical Drive,” or by the drive model. While less common in modern computers, DVD drives still provide recovery media support.
- Network Boot (PXE) enables computers to load operating systems from network servers. This option appears as “Network Boot,” “PXE Boot,” or “LAN.” Schools and businesses use network booting for centralized system management.
- External Hard Drives display similarly to internal drives. The menu identifies them by connection type (USB) or model number.
When You Need Boot Menu
Students and technology enthusiasts encounter several scenarios requiring boot menu access.
Operating System Installation
Installing Windows or Linux requires bootable media. The process involves these steps:
- Create bootable USB drive or burn installation DVD
- Access boot menu during system startup
- Select the installation media from available options
- Begin operating system installation process
This method works for fresh installations and operating system upgrades.
System Recovery Situations
Hardware failures or software corruption require recovery procedures:
- Primary hard drive failures prevent normal booting
- Operating system corruption makes Windows inaccessible
- Critical system file damage requires repair tools
- Boot menu provides access to recovery media
Recovery USB drives or DVDs contain tools to fix these problems.
Dual-Boot and Multi-Boot Systems
Running multiple operating systems on one computer requires boot selection:
- Users install Windows and Linux on separate partitions
- Each operating system needs its own boot entry
- Boot menu allows choosing which system to start
- Different operating systems serve different purposes
Students often use this configuration for learning different platforms.
Virus and Malware Removal
Some malicious software prevents normal system startup:
- Rootkits and bootkit malware load before Windows
- Infected systems cannot clean themselves effectively
- Booting from clean external media enables thorough scanning
- Antivirus rescue discs run independently of installed system
This approach removes persistent malware that survives normal removal attempts.
Testing Operating Systems
Live boot options allow risk-free operating system exploration:
- Linux distributions provide live USB functionality
- Users test systems without installation
- All operations occur in RAM
- Restarting removes all changes
- No permanent modifications to hard drive
This method helps students learn different operating systems safely.
Frequently Asked Questions (FAQs)
What is the difference between boot menu and boot sequence?
The boot sequence is a permanent setting in BIOS/UEFI that defines the automatic order of devices the computer checks for an operating system. This sequence runs automatically every startup without user input. The boot menu provides a one-time manual selection that overrides the boot sequence for the current startup only. After restart, the computer returns to the normal boot sequence.
What is UEFI boot mode?
UEFI boot mode uses the Unified Extensible Firmware Interface instead of traditional BIOS. UEFI provides faster startup, supports drives larger than 2.2 terabytes, includes Secure Boot security, and offers a graphical interface with mouse support. Modern operating systems like Windows 10/11 require UEFI mode for installation.
What does PXE boot mean in the boot menu?
PXE (Preboot Execution Environment) boot allows computers to load operating systems from network servers instead of local drives. Network administrators use PXE boot to install operating systems on multiple computers simultaneously.